Who has never found themselves in the middle of surfing the internet when faced with an ugly error page ? These kind of pages are the default error pages of web servers like Apache or Nginx.

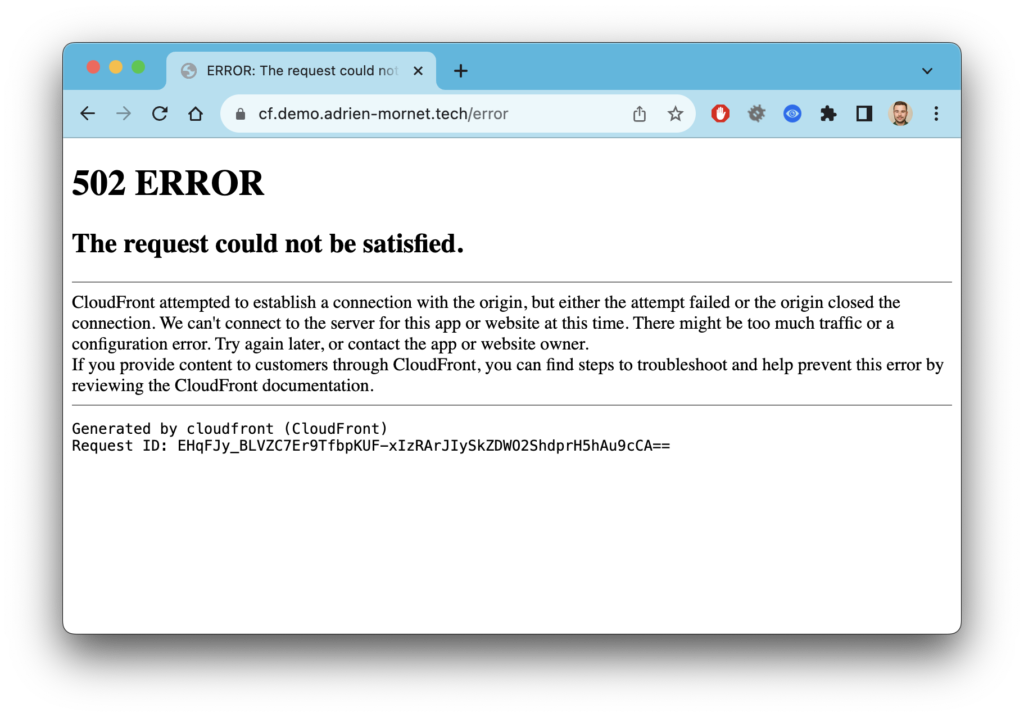
More recently, you may also come across the Cloudfront default errors :
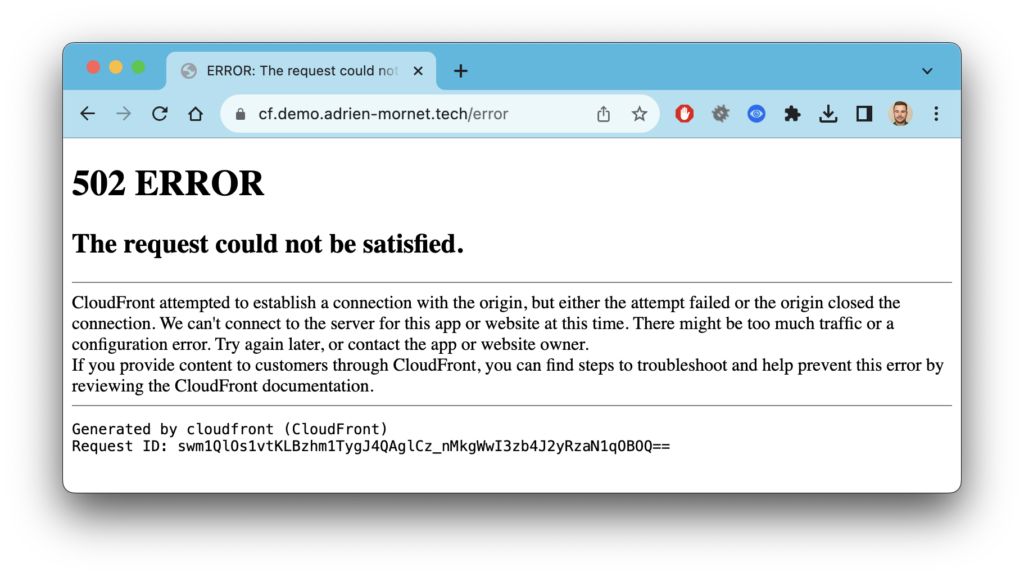
Nothing could be worse in terms of user experience, could it? These generic error pages can be frustrating, uninformative, and can make users question the reliability of a website. In the world of DevOps, where continuous deployment and high availability are key objectives, the last thing you want is to present your users with a subpar experience during moments of downtime or unexpected errors.
In a modern website architecture using a Content Delivery Network, the CDN is the last component capable of catching underlying errors and saving the day :
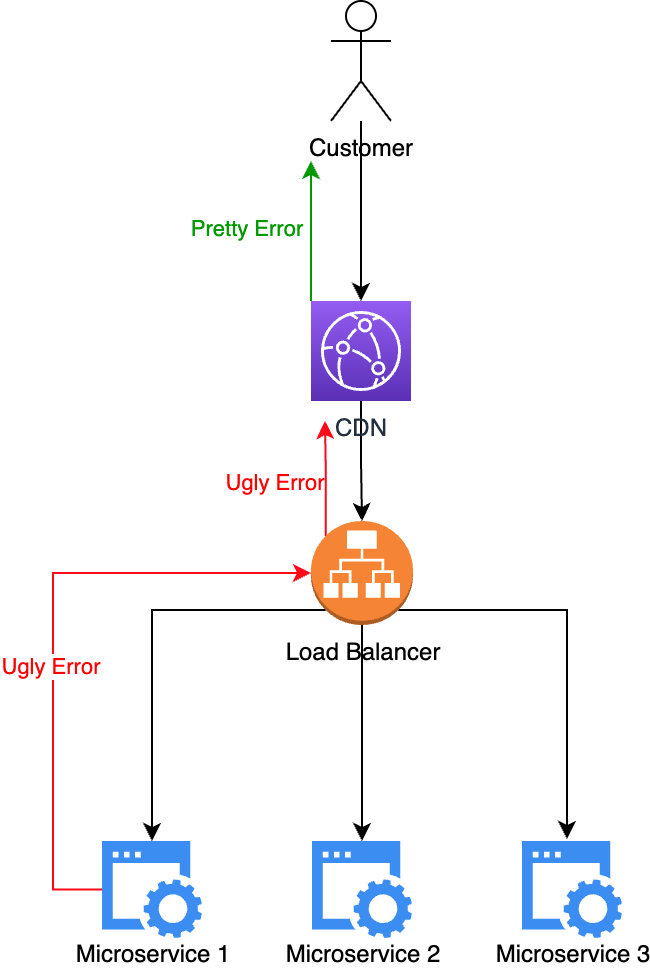
Let’s configure AWS Cloudfront to catch errors from underlying components (and even an error in Cloudfront itself) !
We’re going to do this in just a few steps :
- Create a pretty HTML error page
- Deploy the error page with AWS S3 static website hosting
- Add S3 static website as Cloudfront origin
- Set up Cloudfront error pages
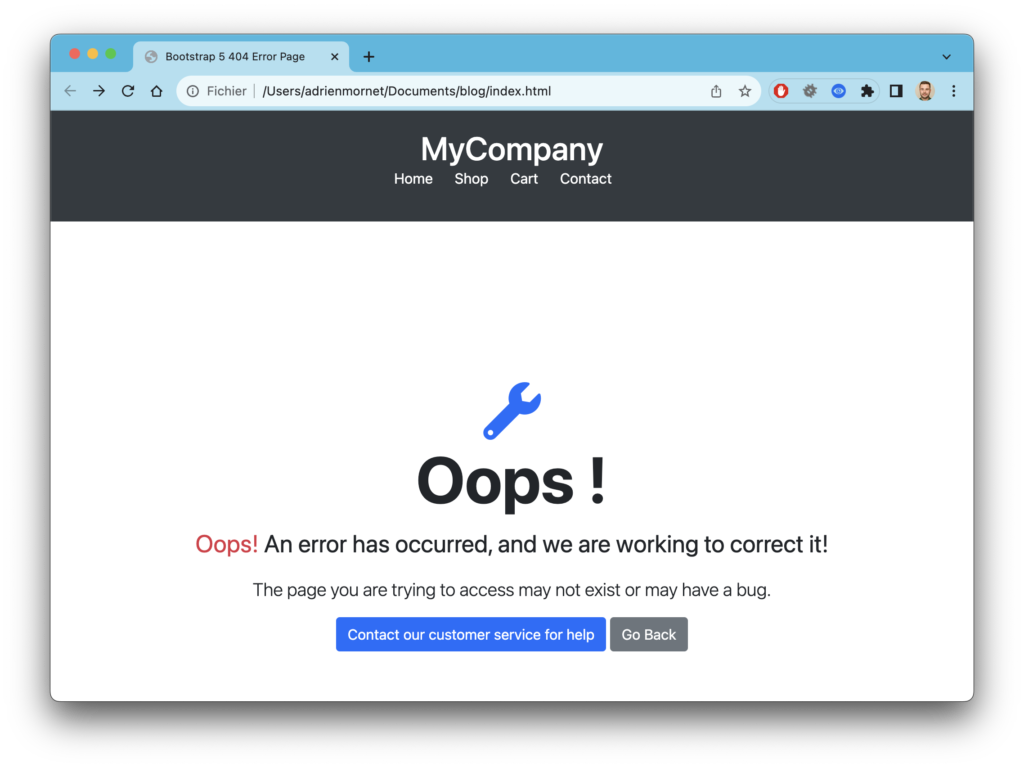
Create a pretty HTML error page
Let’s ask ChatGPT to create a nice error page for us 😏
Deploy the error page with AWS S3 static website hosting
Amazon S3, Amazon Web Services’ object storage service, offers a really simple way to deploy static HTML pages which we are going to use. To make this simpler, we’re going to do it via click ops on the AWS console.
Create a public S3 bucket with public access :


Go to your bucket, click upload button and upload your index.html file :

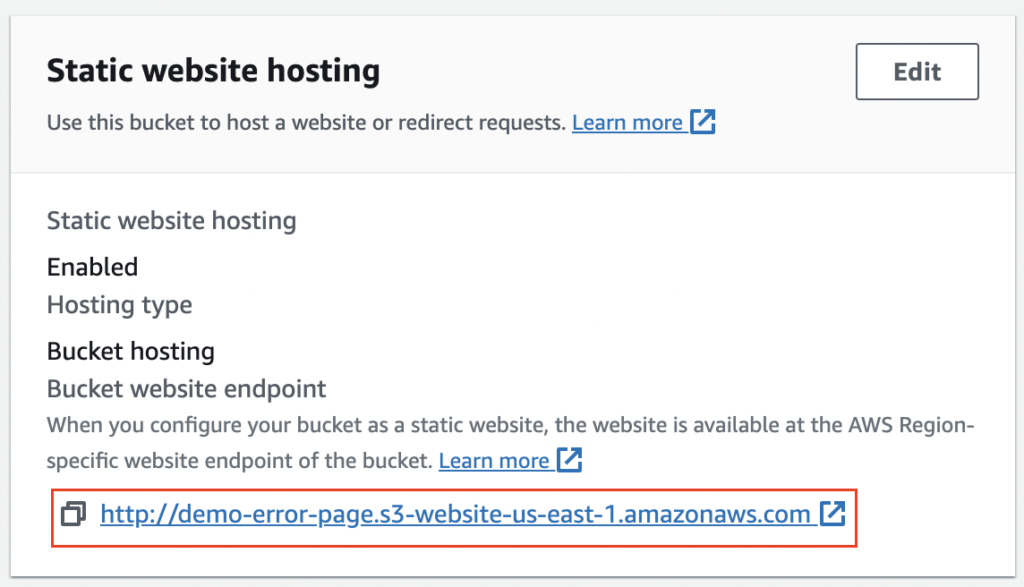
Go to properties > Static website hosting and enable static website hosting for your bucket :
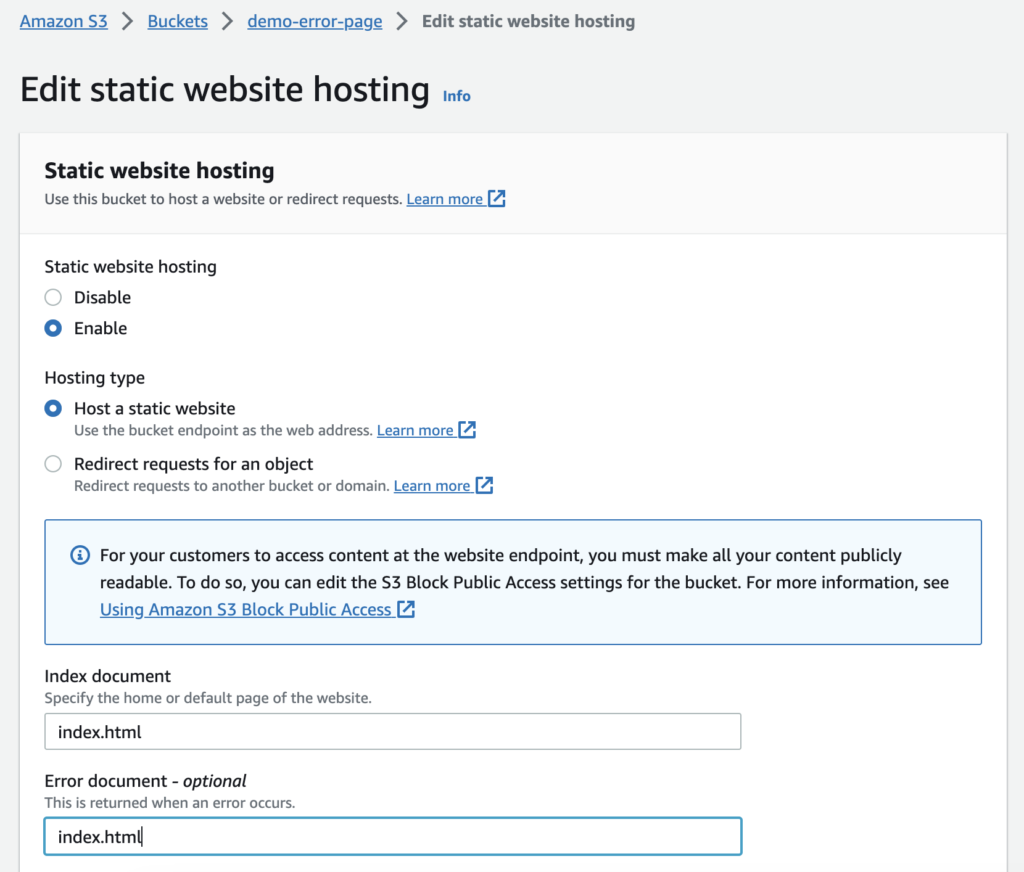
You will now have an HTTP endpoint to access your website :
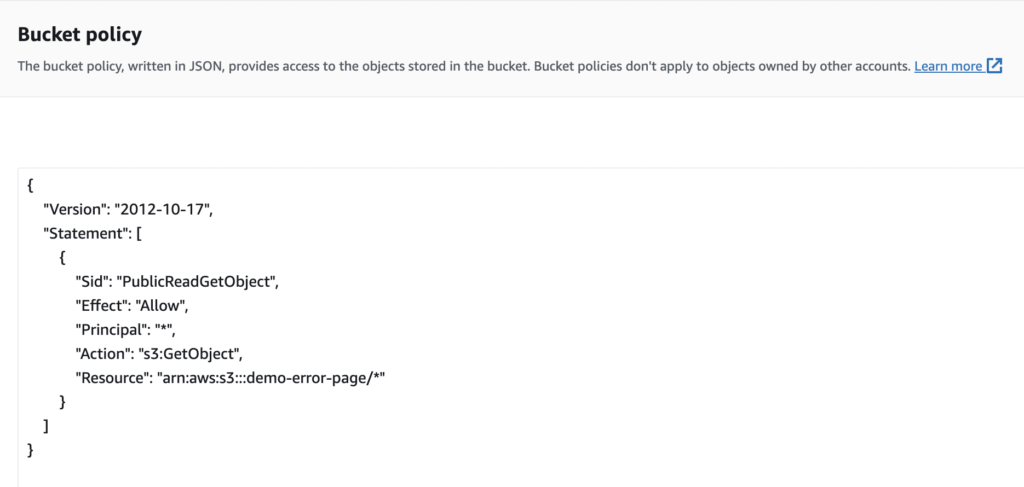
Go to permissions > Bucket policy and allow everyone to get your files :
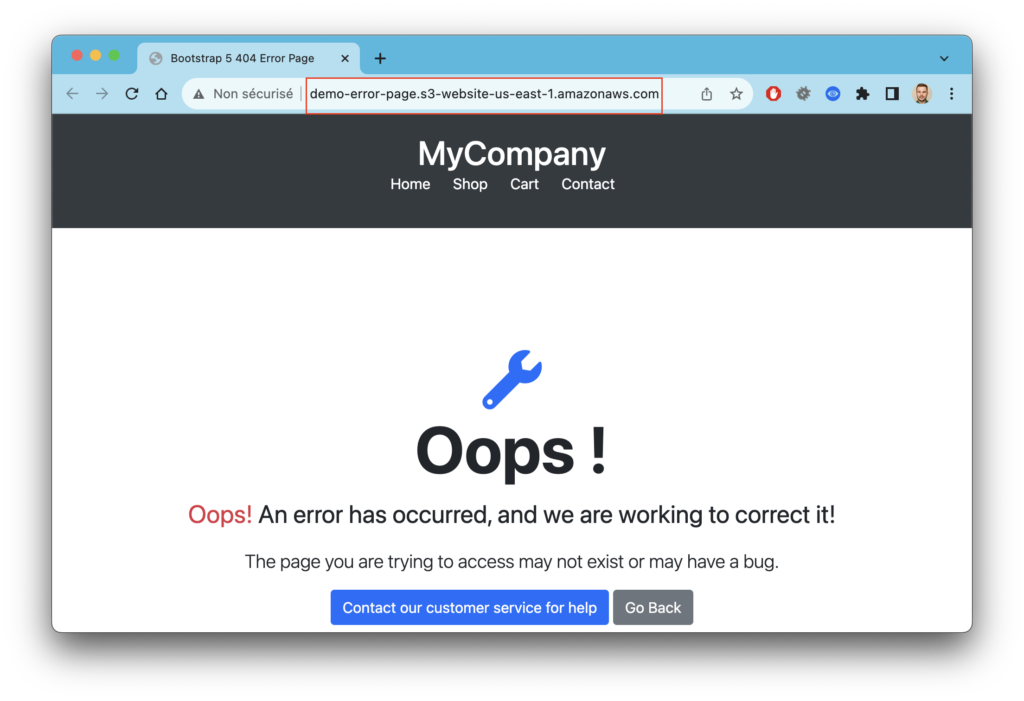
Now you should be able to access your index.html with the static url of your S3 bucket (demo-error-page.s3-website-us-east-1.amazonaws.com in my case) :
Add S3 static website as Cloudfront origin
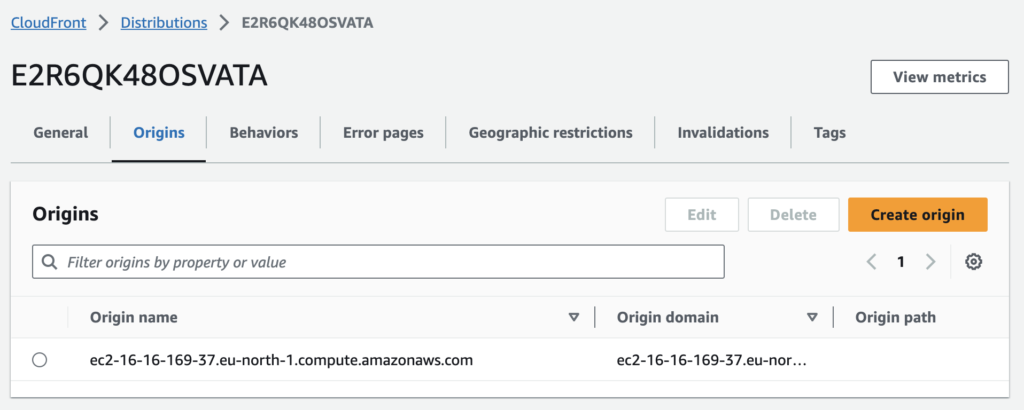
I’m going to assume here that you already have a working Cloudfront distribution with at least one origin :
Let’s add our S3 website endpoint (the url which contains s3-website, not the bucket endpoint) as a new Cloudfront origin :
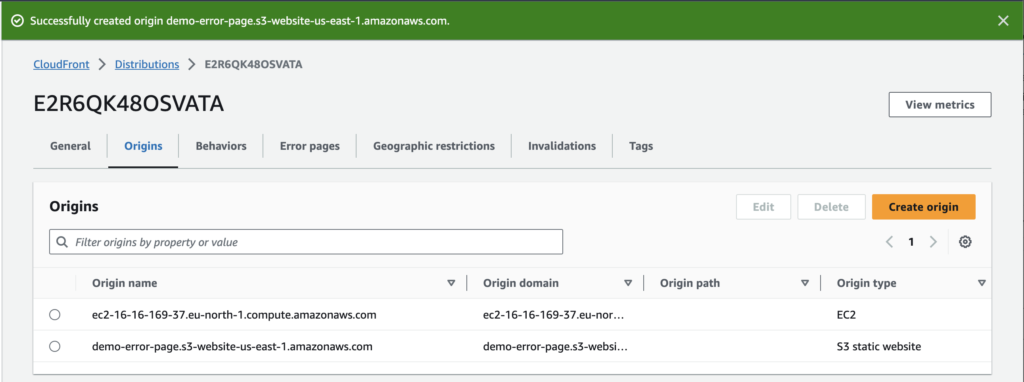
Now we can add a new behavior for our Cloudfront distribution on a custom path :
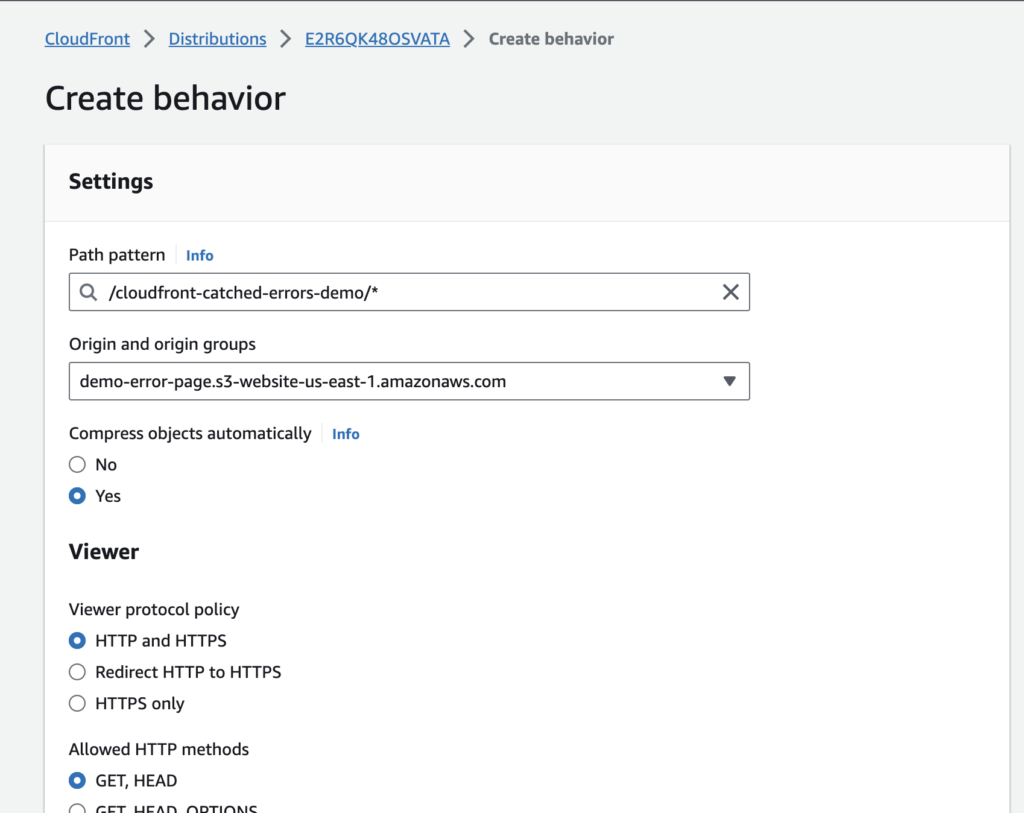
In this way, requests whose path matches /cloudfront-catched-errors-demo/* will be sent to our bucket :
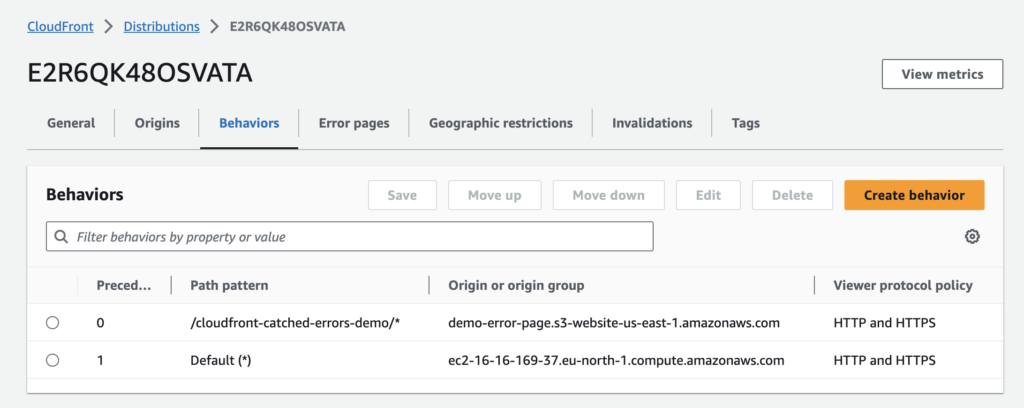
Set up Cloudfront error pages
We are now going to configure our distribution so that it catches errors and redirects them invisibly for the user. To do this, Cloudfront offers an “Error Pages” section where we can configure custom error response :
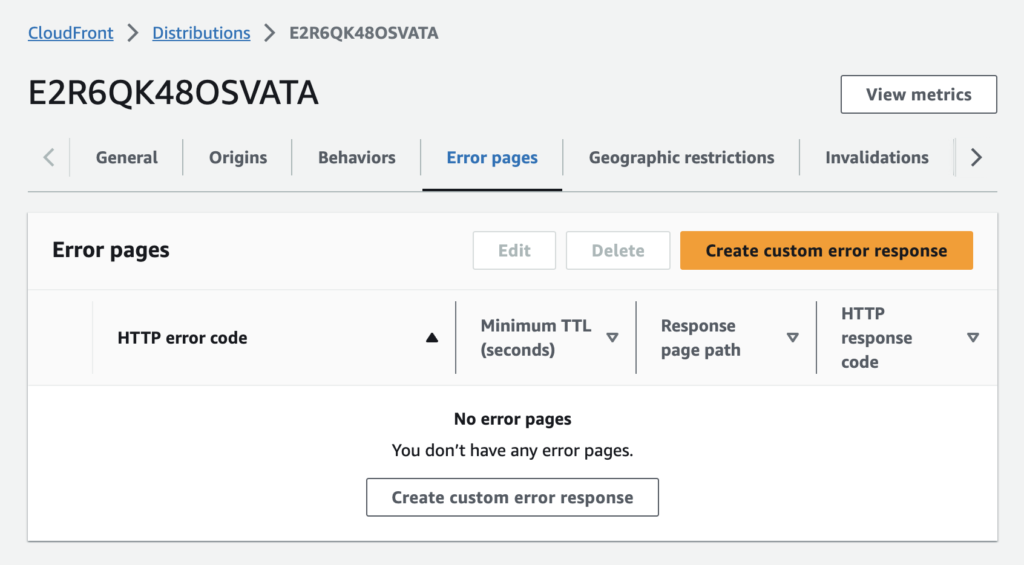
Let’s create a custom error response :
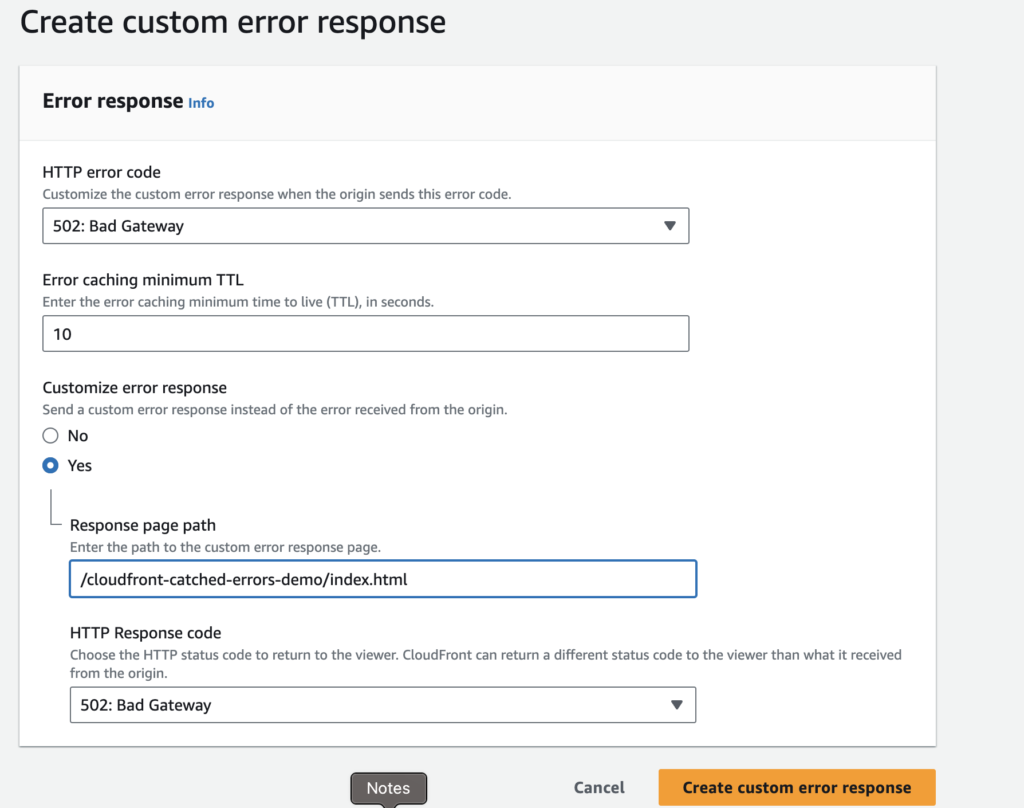
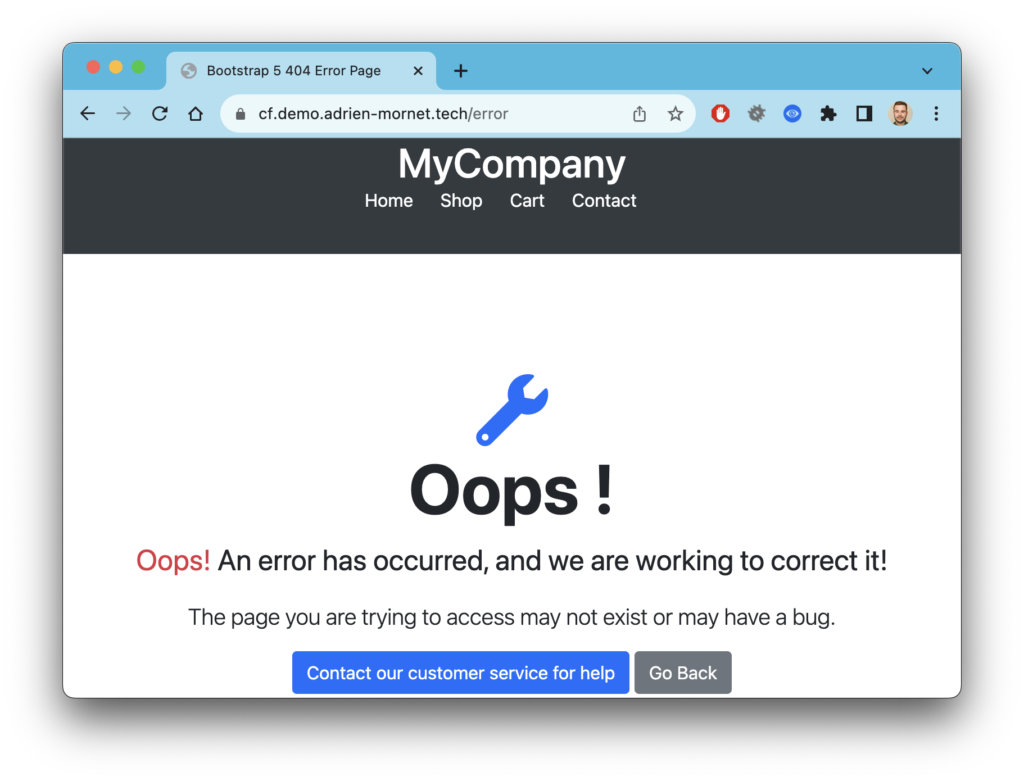
By doing that, we are going to catch all 502 HTTP errors and show our pretty HTML error page by setting “Response page path” to /cloudfront-catched-errors-demo/index.html. Let me show you!
Before :
After :
To go further
I recommend that you catch at least HTTP 500, 501, 502, 503 and 504 errors via Cloudfront error pages because they concern server-side errors and are not managed by the application server. For 4xx errors, as they concern errors made by the customer, this is more debatable. If the error is handled correctly by the application, you might as well leave this role to it (this is very often the case for 404 errors, which are handled by web mode frameworks).

