In the cloud age, it’s common to expose applications running on containers or virtual machines through a load balancer. By doing that, cloud engineers can ensure high availability, reliability, and scalability for their services. The load balancer acts as a single point of contact for users and automatically routes incoming traffic to the most available and capable instances.
This single point of contact seems to be perfect for authenticating users accessing the underlying services, no? In this article I will explain how to set up an authentication layer on an AWS Application Load Balancer with Cognito.
What is Cognito ?
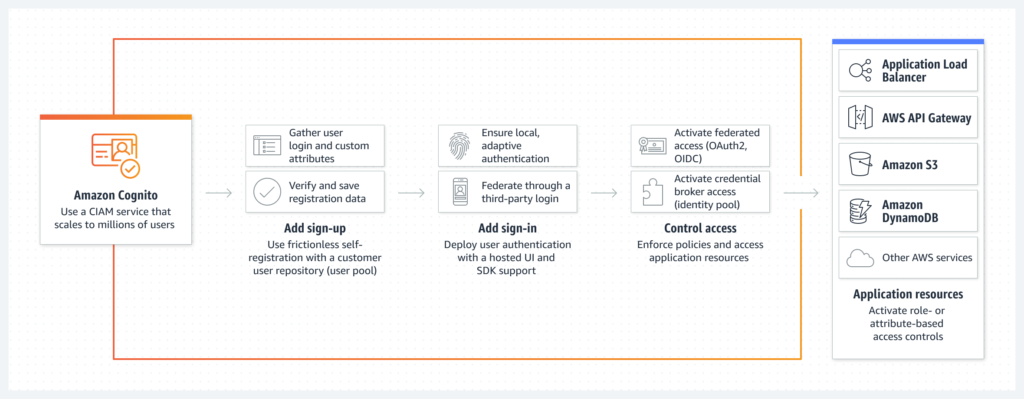
Amazon Cognito is a managed service offered by AWS that provides authentication, authorization, and user management for your web and mobile apps. With Cognito, you can easily add sign-up and sign-in functionality to your app, as well as manage access to your app’s resources. Think of it as a helper that takes care of all the complex stuff related to user management so you can focus on building your app.
Architecture
Let’s take a basic example with a Web Server running on an EC2 server behind an Application Load Balancer :
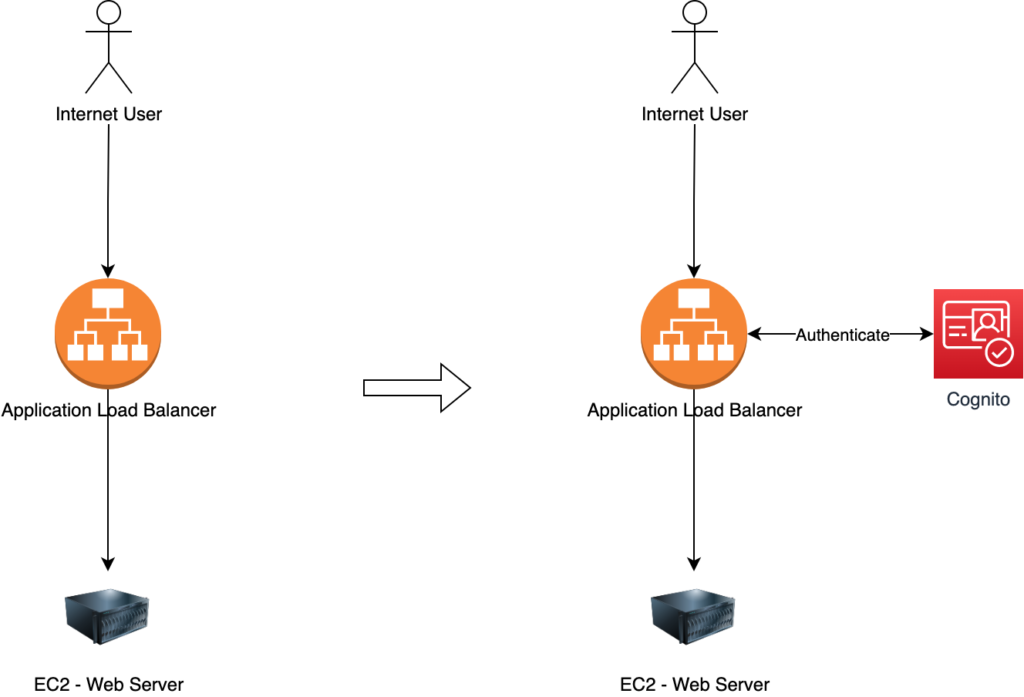
We will just add here a Cognito authentification on the Load Balancer before being able to access EC2 server.
Implementation
1. EC2 instance
For the demonstration, I created an EC2 instance publicly accessible from the internet on which I installed Apache :
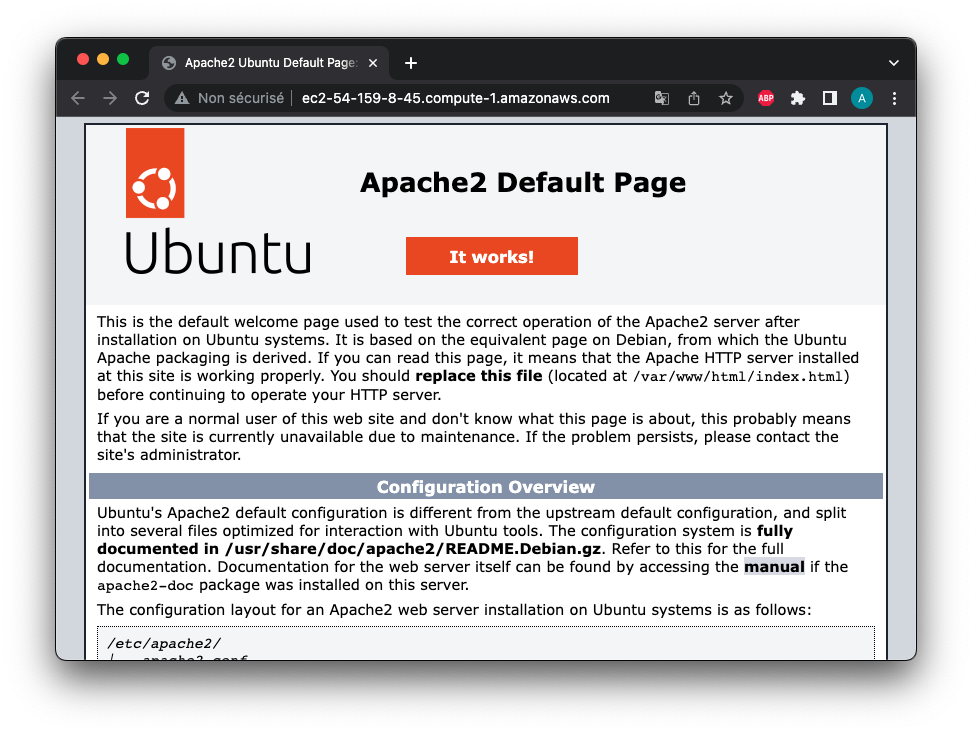
I then created a target group with the previously created EC2 as the target. Finally, I created an application load balancer redirecting all traffic to my target group.
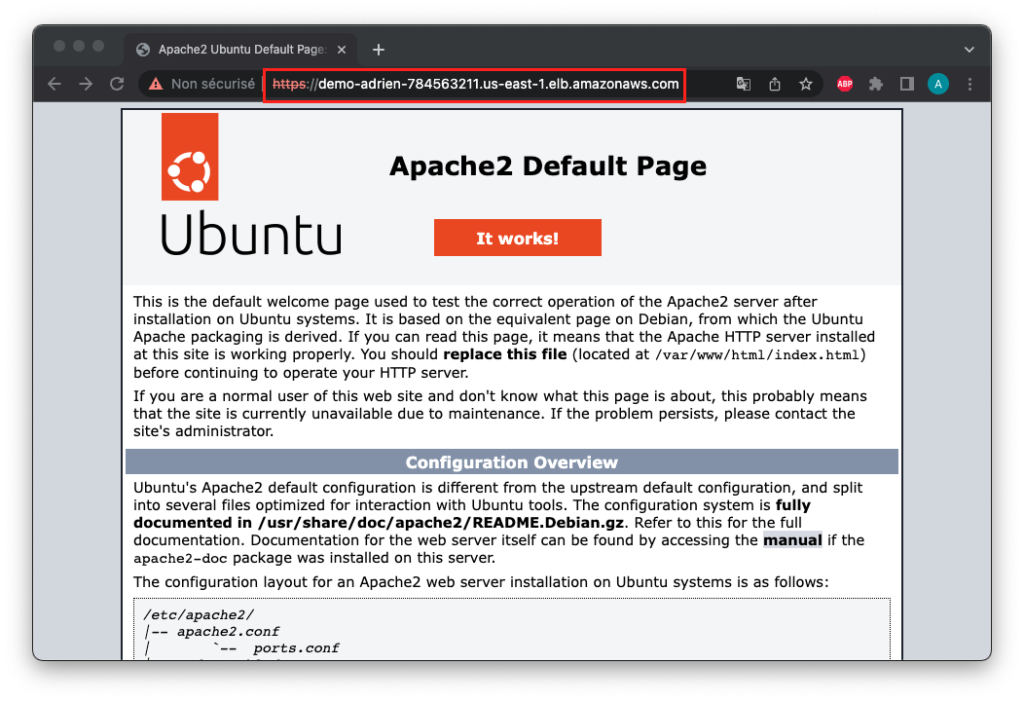
I can now browse with HTTPS my EC2 from the DNS hostname of the load balancer :
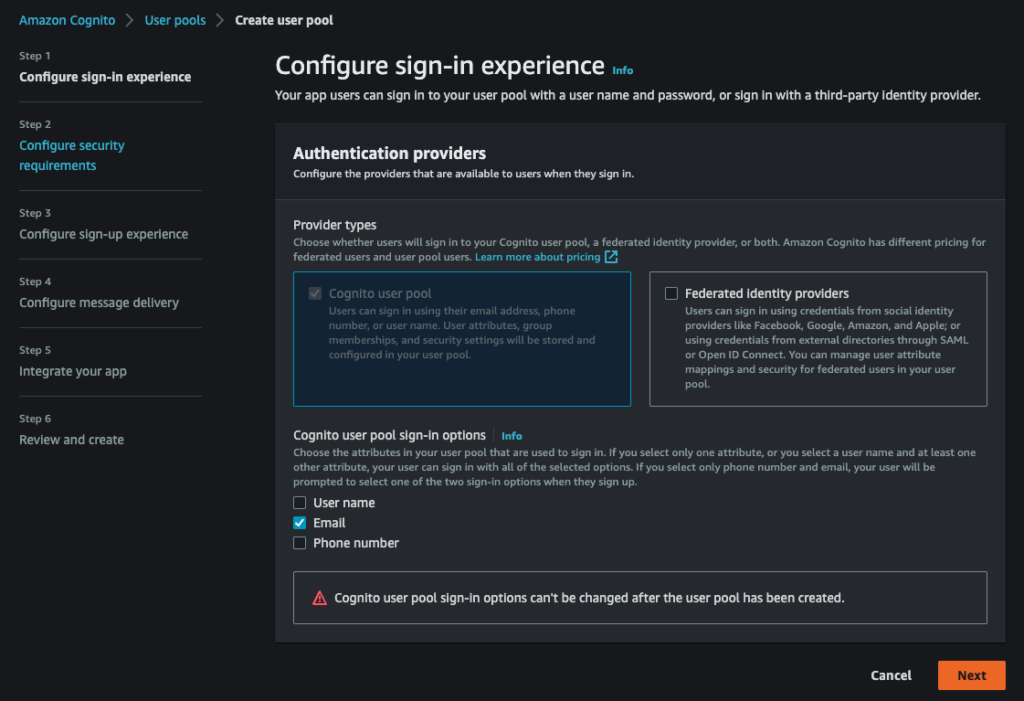
2. Create a Cognito user pool
Let’s open Cognito console and create a user pool :
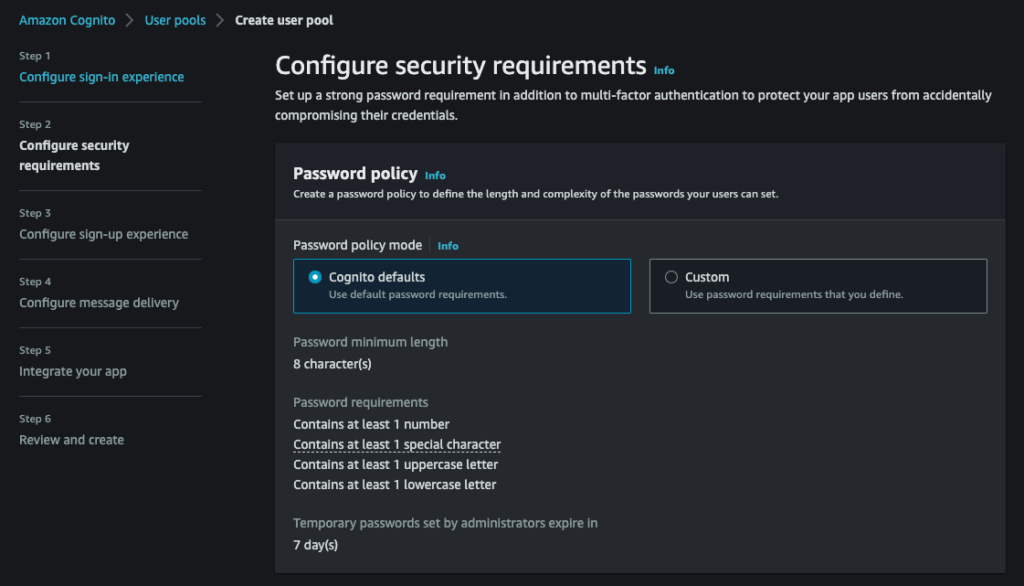
Keep Cognito’s default password configuration :
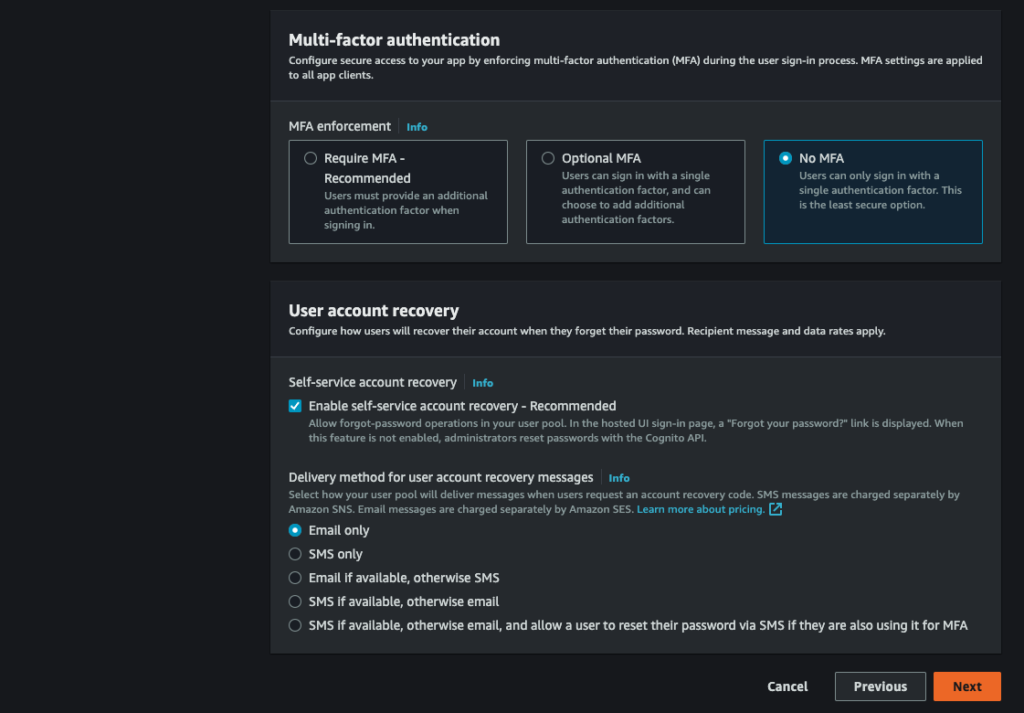
Disable MFA :
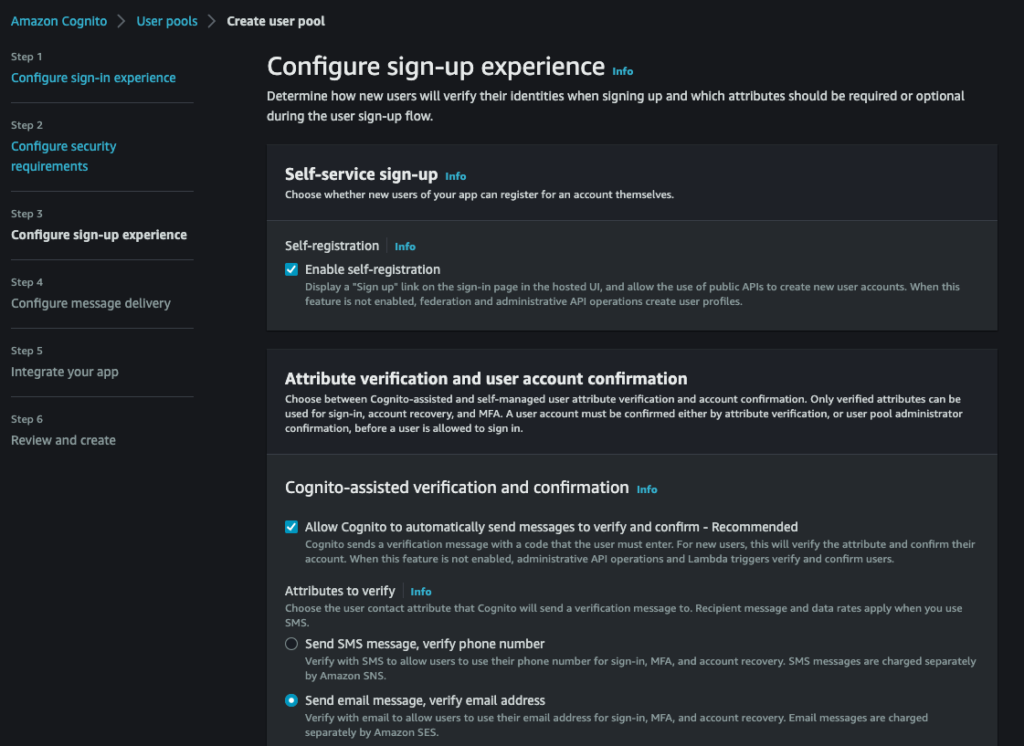
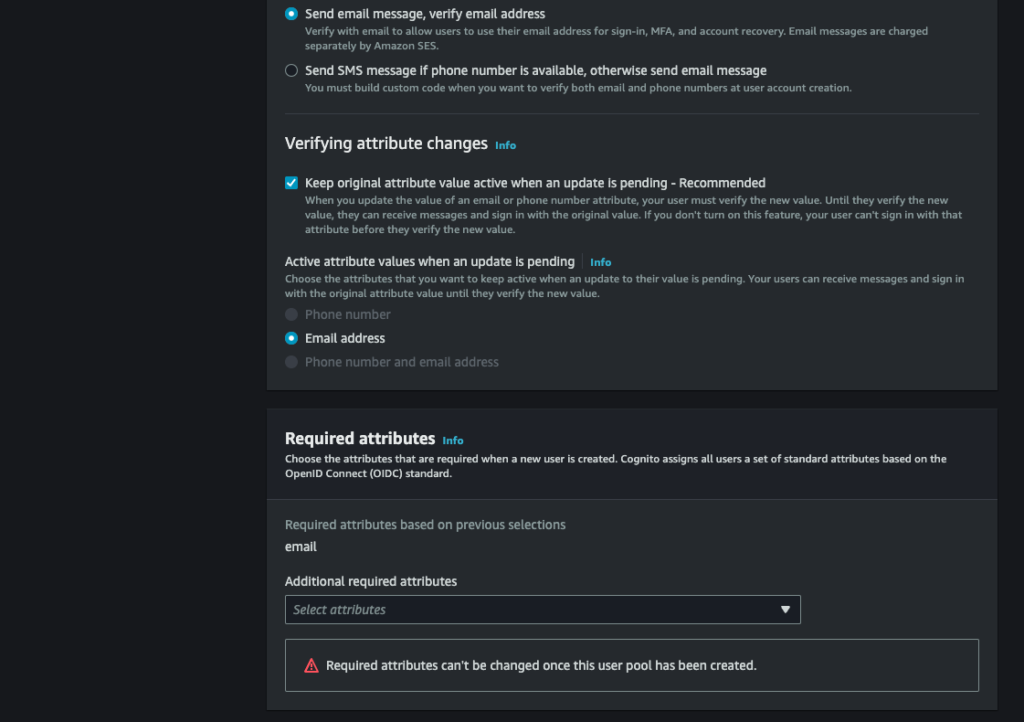
Configure sign-up experience :
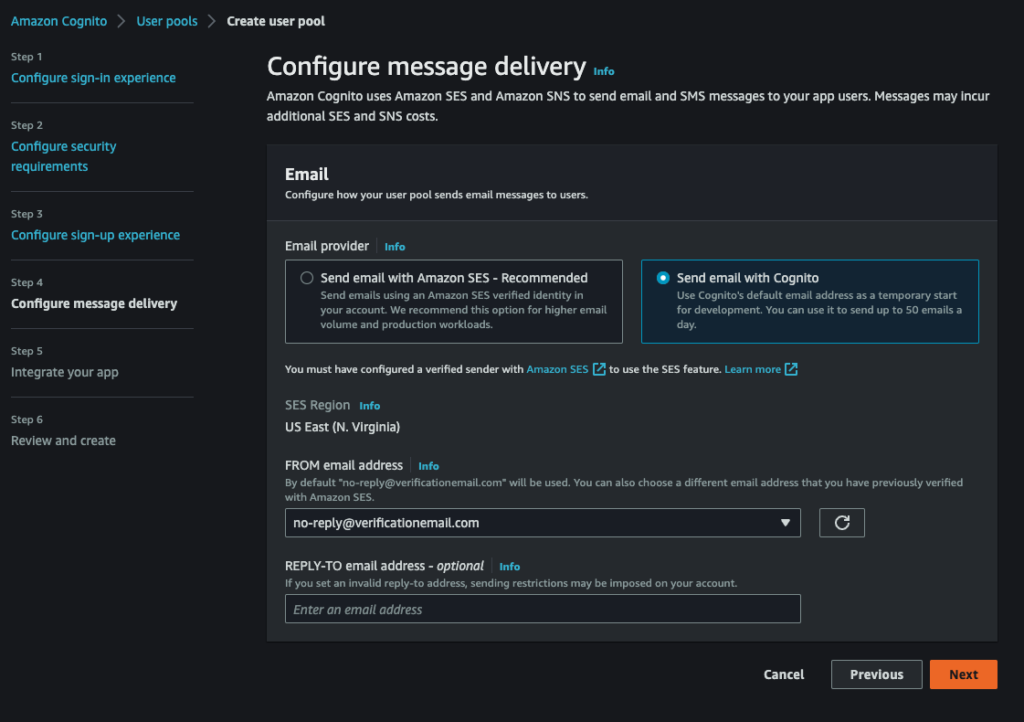
Configure message delivery :
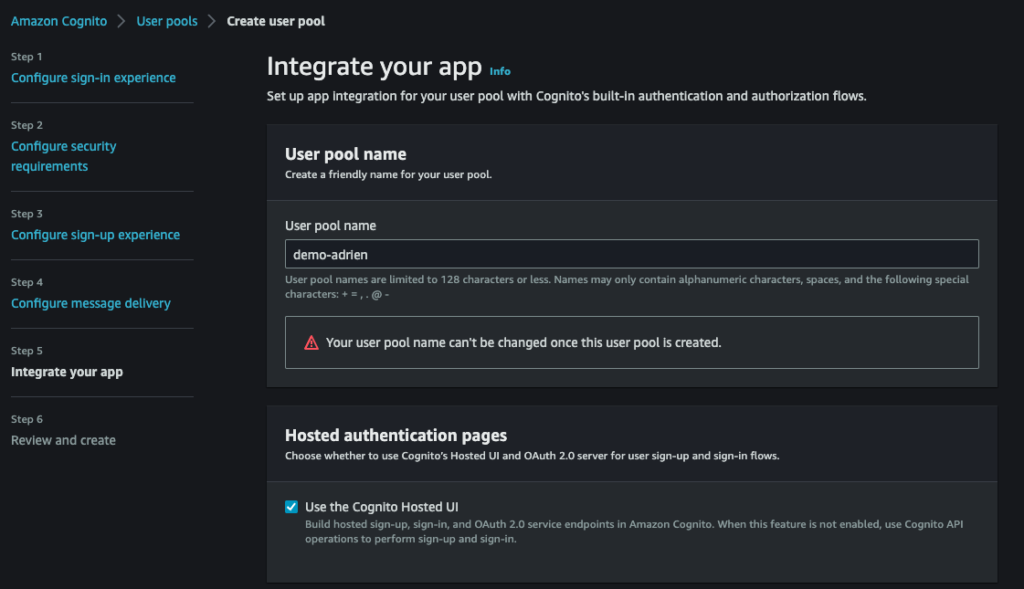
Integrate your app :
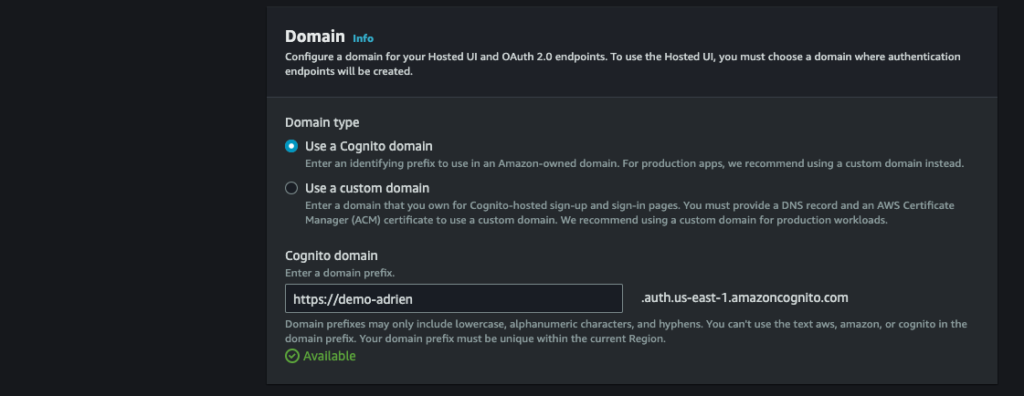
Create a cognito domain :
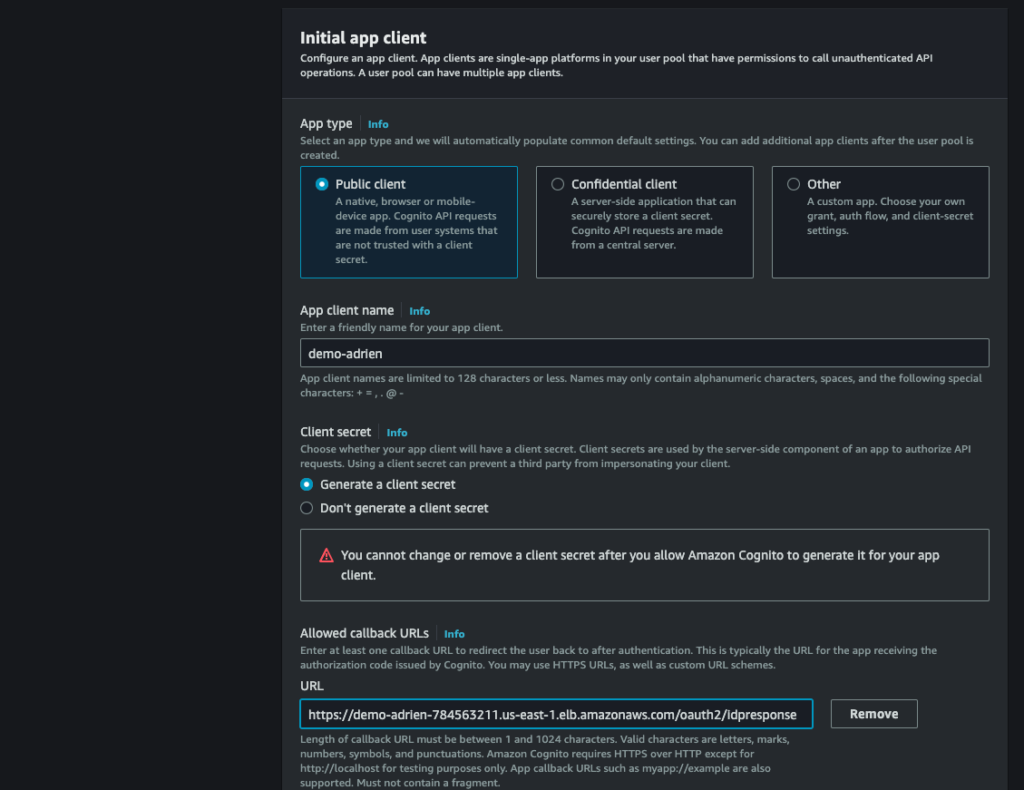
Create an app client as public client, generate a client secret and add your load balancer url + /oauth2/idpresponse as allowed callback url :
Finally, create the user pool :

3. Configure the load balancer to authenticate users via Cognito
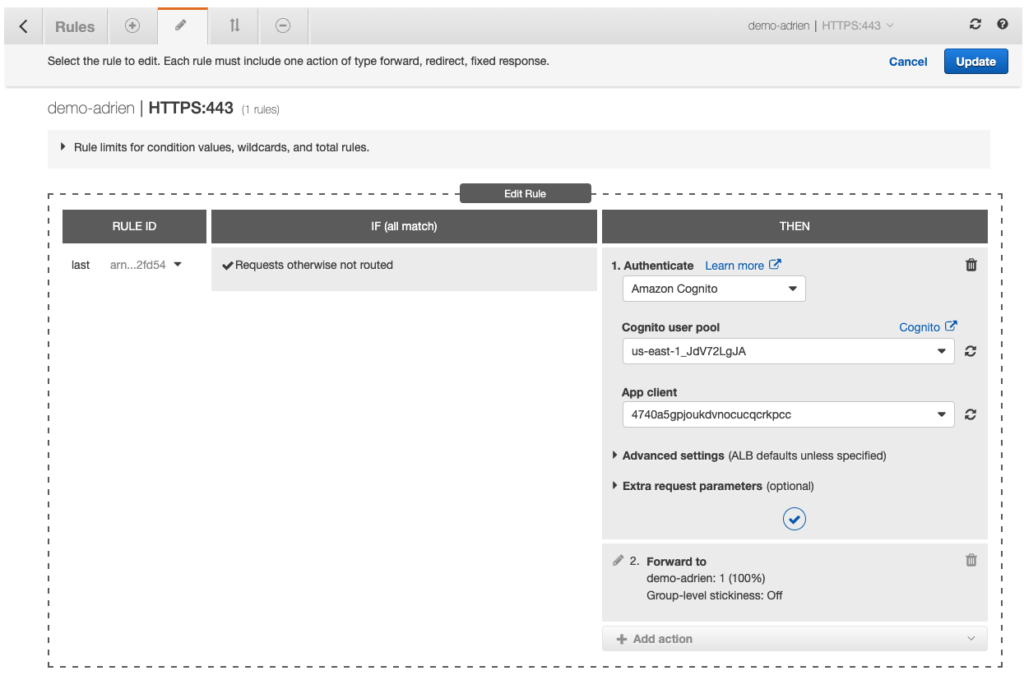
Open your Load Balancer and edit the rule to add an “Authenticate” action :
Demonstration
Now open your Load Balancer url and find that you are asked to authenticate yourself :
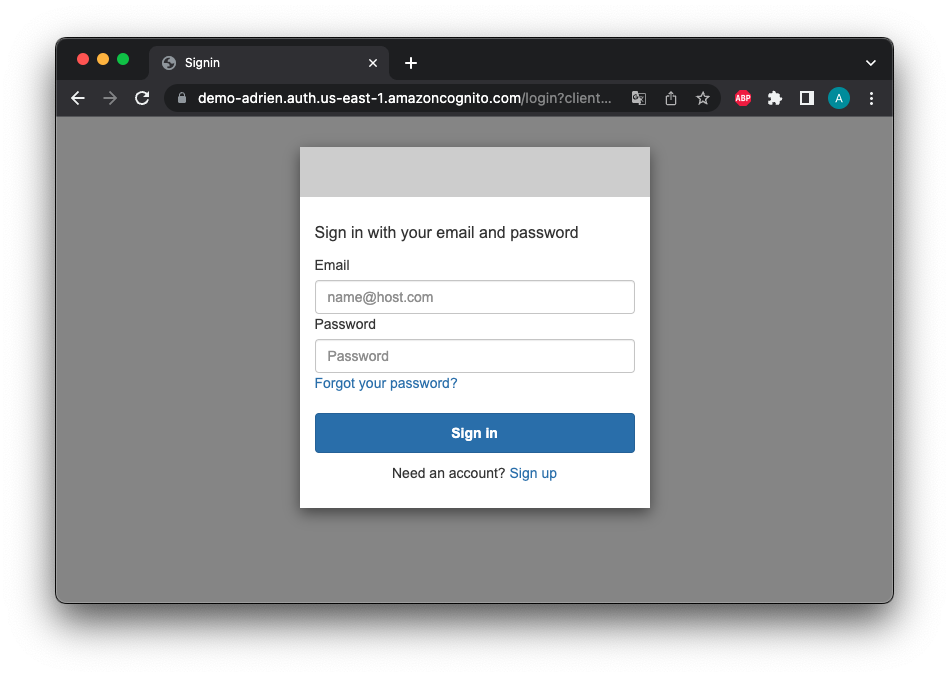
You can now create an account from the registration link (can be easily disabled) or via the Cognito console. Then you just need to log in to access the EC2. Cool and easy, right?
To go further
Easy Two Factor Authentication
Amazon Cognito is useful for implementing two-factor authentication (2FA). With 2FA, users are required to provide two forms of identification to verify their identity, which can include something they know (such as a password), something they have (such as a one-time code sent to their phone), or something they are (such as biometric authentication like a fingerprint or facial recognition).
Cognito provides built-in support for 2FA via time-based one-time passwords (TOTP) and SMS-based multi-factor authentication (MFA). This makes it easy to add 2FA to your application without having to build the infrastructure yourself.
SAML & OIDC
Cognito supports federated authentication, allowing users to authenticate through a third-party identity provider such as SAML or OIDC, rather than having to create and manage a separate set of credentials for your application. It enables your users to authenticate with their existing corporate credentials (Google Workspace for example) or social media accounts, making it easier and faster for them to sign in to your application.
Lambda triggers
Amazon cognito provide a powerfull lambda integration : it integrates it’s workflows with Lambda triggers. A Lambda function can be created and activated during user pool operations such as sign-up, confirmation, and sign-in through the use of a Lambda trigger. This allows for the implementation of authentication challenges, user migration, and customization of verification messages. This allowed me to check that the users registered to my user pool were from a single email domain.

